
The guide wheel is the core component of the wire feeding system, carrying the molybdenum wire through reciprocating travel during discharge machining. Its condition directly affects machining quality and wire life, and can even cause the wire to run loose on one side.
1. Effects of Guide Wheel Vibration
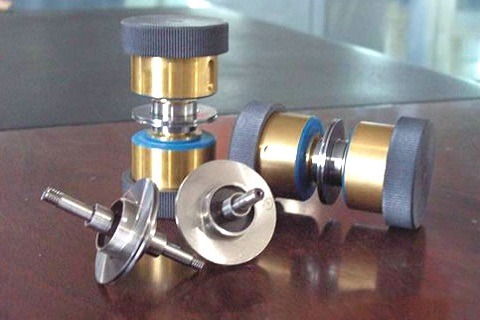
- Slight vibration: unstable wire-to-workpiece contact and uneven discharge hurt surface finish; on MS-WEDM multi-pass cutting, even slight vibration prevents good trim cuts.
- Severe vibration: extra tension and friction increase wire wear and shorten life; violent discharge vibration can even burn the wire through, and long-term use causes one-sided slack.
Monitor the guide wheels and address vibration promptly.
2. Assembly and Disassembly
- Clean: wash the wheel, brass bush, nut and caps in clean kerosene; keep tools and hands clean.
- Fit bearings: coat one side of the first bearing with special oil (oil side down) and press it vertically into the bush. Apply grease, insert the second bearing and press it fully home with no gap.
- Press the wheel: use the pressing rod (5mm bore) to hold the bearing rings level and press down vertically, avoiding bearing damage, then secure the wheel with the brass nut.
- Set the axial clearance: screw tool B two-thirds into the bush, then screw tool A (with a pin) into B so the pin presses the wheel shaft center hole until it cannot turn further. This opens a small clearance between the wheel face and bush face so high-speed rotation avoids heavy friction — an essential step.
- Lubricate: add oil and fit the nut; grease should just emerge from the wheel–bush gap, showing it has passed through the bearing.
- Disassembly: remove the nut and reverse the steps until the wheel comes off the bearing.
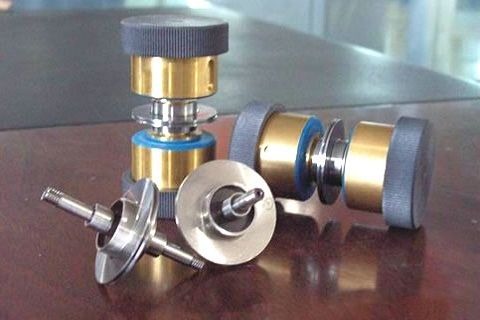
3. Installation Notes
- No part of the assembly should require hammering; if it will not go together without force, something is wrong.
- Tightness should be moderate — operator feel is unreliable, and over-tightening is common.
- The wheel should run smoothly with grease always filling the bearing space.
- Keep the insulating sleeve clean and effective, with no binding or periodic tightness.
- When setting clearance, hold the bush attached to the tool firmly to avoid rotating injuries.
4. Judging Wheel Life and Maintenance
Wheel life is not measured by time; judge it by material and fluid condition:
- With the wire tensioned and spool raised above 300, start the machine and check wire vibration — excessive vibration means the wheel or bearing needs inspection.
- If vibration is intermittent, cut a low-precision job and watch for surface marks or accuracy error.
- Never hammer bearings during replacement.
- Tension the wire regularly — a slack wire shortens wheel life.
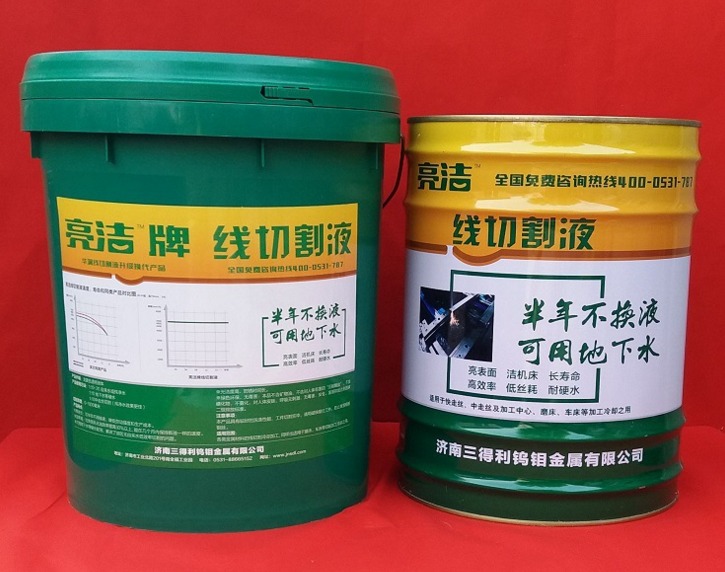
- Use original guide wheel spares and a dedicated water-based wire EDM dielectric.
- Replace coolant regularly, wipe the wheels at shift changes and add oil on schedule.
Summary. Small as they are, guide wheels gate machining quality. Proper installation, timely maintenance and condition-based replacement are the key to precision, finish and wire life.
Need more information? — we reply within 24 hours. Contact our sales team