
The lead screw is the key transmission component that guarantees wire EDM accuracy. Heavy wear directly degrades precision — many “elliptical hole” problems trace back to a worn lead screw. Knowing how to select, replace and maintain it is fundamental to holding accuracy.
1. When to Replace
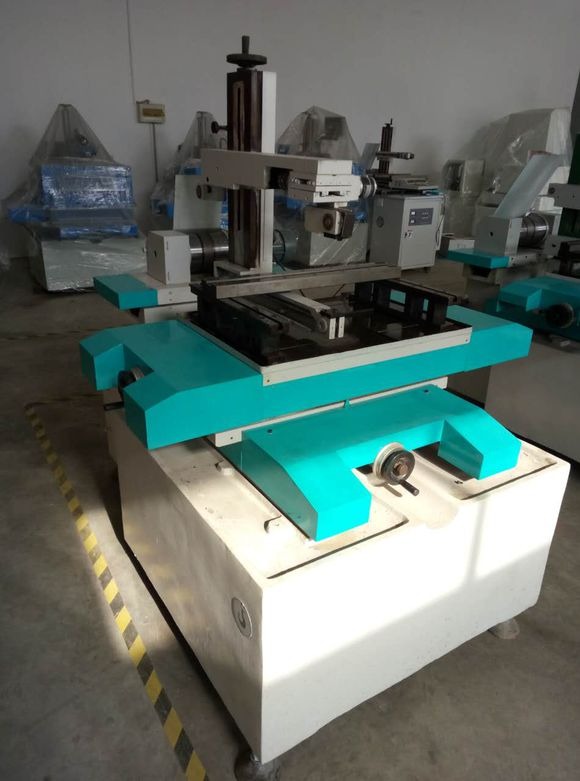
When the lead screw wears to the point of affecting accuracy (for example, when elliptical holes appear), replacement is needed. It is one of the harder components to change, so work carefully.
2. Choosing a Lead Screw
Brand and counterfeits. Prefer well-known brands, but the more famous the brand, the more counterfeits, since fakes rarely target small makers. Buy through authorized channels and know the screw’s specifications. Wire EDM lead screws commonly use a 4mm lead, but HIWIN, a major Taiwanese maker, has no 4mm-lead product — if someone offers a “4mm-lead HIWIN screw,” suspect a relabeled one.
Accuracy grade. Lead screws are graded 1, 2, 3, 4, 5, 7 and 10, with grade 1 the most precise:
- P5 (GB standard, grade 5): travel deviation within 0.023mm over any 300mm of travel (P5 = 0.023). Common among Chinese and Asian manufacturers.
- C7 (JIS standard, grade 7): travel deviation within 0.050mm over any 300mm of travel (C7 = 0.050). Common on Japanese and Taiwanese products.
P5 is more accurate than C7 — a grade-5 screw is more precise than a grade-7 screw. Choose the grade to match your accuracy requirements.
3. Replacement Procedure (Without Removing the Worktable)
- Remove the protective covers around the worktable.
- Detach the nut from its mounting — first remove the locating nut used for positioning.
- Remove the handwheel and the screws securing the lead screw; tighten the lower nut so the gap in the main nut narrows and locks it.
- Remove the X/Y stepper motors.
- Tap the lead screw out from the handwheel end and push it back to reach the rear gear and bearing.
- Remove the rear gear and bearing, then the handwheel-end mounting.
- Withdraw the screw and install the new one in reverse order.
Notes: the bearings must not be damaged — this is critical. Minimize the gear–motor gap while keeping proper meshing. The X and Y axes follow the same procedure.
4. Daily Maintenance
- Check the oil circuit daily before startup so the screw nut is properly lubricated.
- Clean the screw periodically, remove the dust seal and add white lubricating oil (about once a month).
- Periodically adjust the clearance between the stepper motor and the screw gear and add oil, preventing gear wear and preserving accuracy.
- Check that the screw turns smoothly without noise or binding — replace worn bearings promptly.
Summary. Lead screw precision directly determines dimensional accuracy on a wire EDM machine. Choose by brand and accuracy grade, replace by the book while protecting the bearings, and keep up routine lubrication — that extends screw life and keeps quality stable.
Need more information? — we reply within 24 hours. Contact our sales team