
Wire loading (winding), tensioning and threading are the most basic — and most important — procedures in wire EDM operation. Most users run a wire until it breaks before replacing it, so loading is frequent. Done properly, they reduce breakage and ensure accuracy; done carelessly, they cause knots, tangling and uneven tension.
1. Wire Loading (Winding) Steps
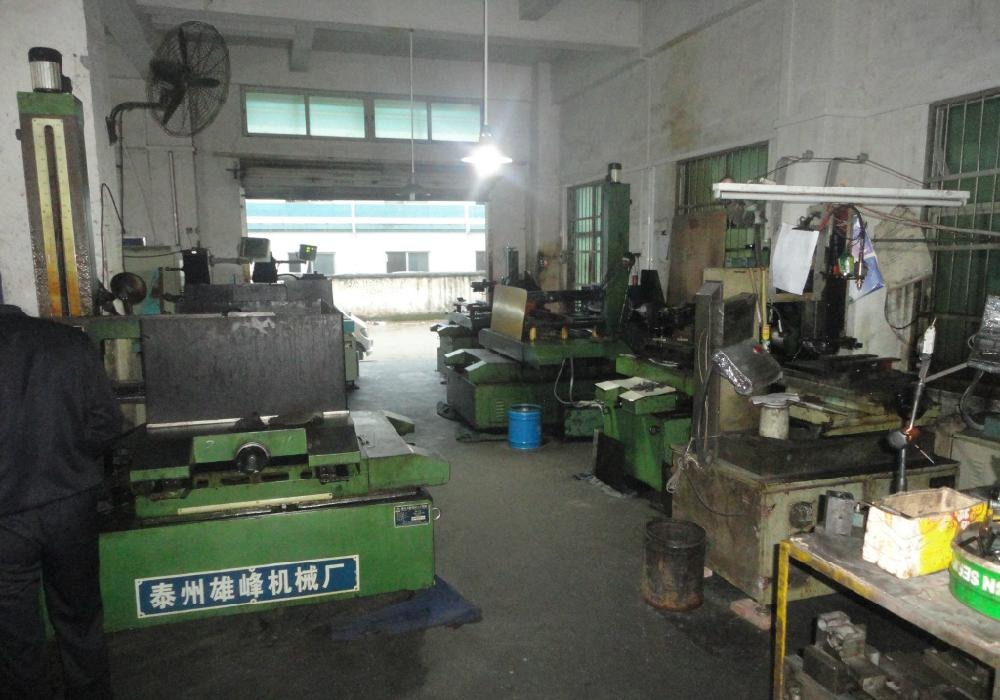
Loading transfers the wire from the supply reel onto the wire spool:
- Move both reversal limit switches aside, crank the spool to one end, and wipe it clean.
- Crank the spool to the far right and secure one wire end with the screw.
- Fit the supply reel onto the loading shaft and tighten the nut; turn on the loading motor and adjust the counter torque for even tension.
- Crank the spool while keeping the wire on the wheels; cut the wire as the spool nears the other end.
- Set both reversal limit switches per the spool’s rotation and travel.
Hold the supply reel by hand to keep tension, or the wire may tangle or slip off the guide wheels. Wound width should exceed half the spool width, leaving 5–10 mm clearance at each end so reversal does not snap the wire.
2. Safer Loading Methods
Gripping the supply reel by hand is hazardous — a fast-spooling wire can seriously injure a finger. Press the reel with a cloth, or hold it on a bolt or rod with gloved hands, keeping it slightly lower than the spool.
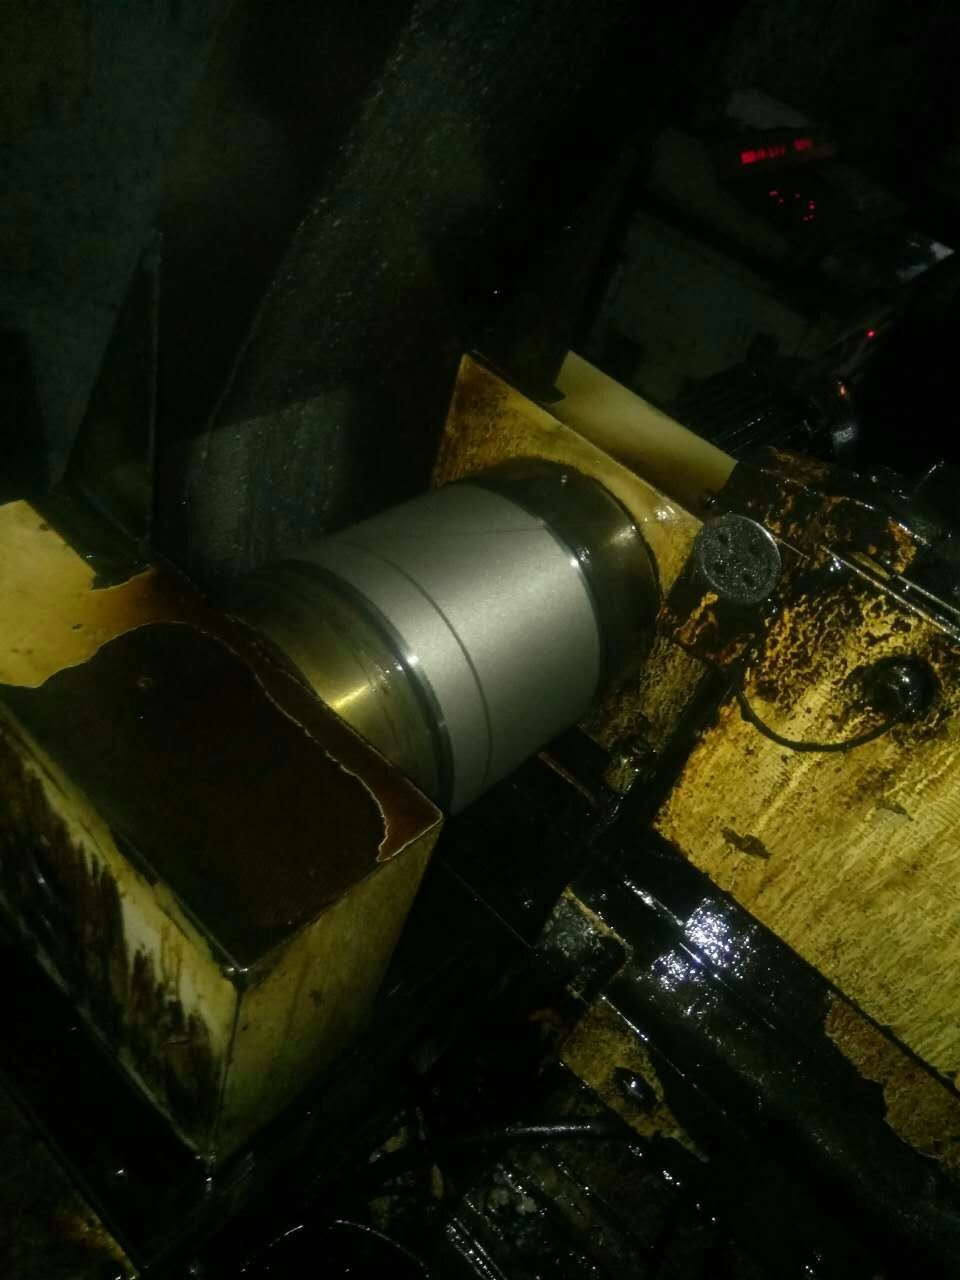
3. Wire Tensioning Steps
- Run the spool to one reversal position and stop.
- Hold the tensioning wheel against the wire with moderate force, run to the other end, and stop.
- Manually wind about 8 mm to the fixing screw, remove the tensioning wheel, loosen the screw, pull the wire end tight, and re-fix it.
- Stop when the wire runs smoothly with even tightness.
Too loose causes vibration, breakage and poor surface roughness; too tight raises internal stress and breaks the wire just as easily. Never over-tension new wire; re-tension about every 4 hours of machining.
4. Wire Threading Steps
Threading routes the wire through the guide system:
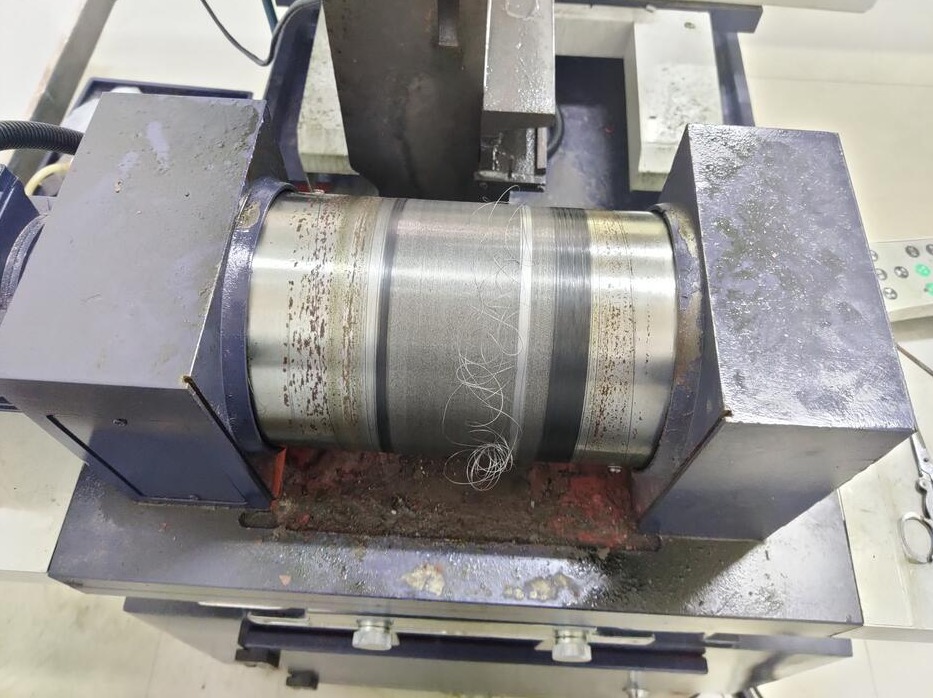
- Run the wire to one limit and stop, loosen the end fixing screw, pull the wire end under the spool, through the guide wheels and wire deflector, into contact with the conductive block, then back to the fixing screw.
- Crank the spool counterclockwise about 8 mm by hand before startup.
- Set both reversal limit switches so the spool keeps 3–5 mm clearance at each end at reversal.
Fine wire knots easily — press the spool lightly with the left hand to restrain pulling speed, and cut off any knot rather than pulling hard. Check that the wire sits in the guide wheel grooves and contacts the conductive block properly; jamming against the block’s side causes breakage.
5. Pre-Cutting Checklist
Re-check the wire path, verify wire perpendicularity with a square or hexahedron, then power on in order — main power, controller, 24 V stepper supply, high-frequency power supply — and clamp the workpiece with the start position selected. Switch off in reverse order when finished.
Experience tip: if the spool position after wire removal does not match the loading position, overlapping or loose layers may occur; fine-tune the lower guide arm limit rod or reload the wire. A standardized routine is the foundation of stable machining.
Need more information? — we reply within 24 hours. Contact our sales team