
Reversal faults are common in wire EDM and involve both electrical control and mechanical coordination. Understanding how reversal works is the basis for troubleshooting.
1. How reversal works. In a typical machine, the lever on the wire spool rail trips the left and right proximity limit switches, driving relays KA3 and KA4 with KA1. KA1’s contacts switch the control electrodes of two thyristor pairs on the reversal board so they conduct alternately, supplying phases A and C to reverse the feed motor. Key links: the 12V DC supply, both limit switches, KA1’s contacts, the four thyristors, the relay and socket, the board’s 12-pin plug, scorch marks, and capacitor or resistor failures.
2. Four common fault types.
- Program does not stop at reversal. Check the relay that cuts high-frequency power at reversal, then the reversal switch, then the high-frequency board.
- No reversal. Two causes only: a missing motor phase, or a faulty reversal board.
- Overrunning the travel at reversal. Check the reversal board first; a missing phase can also cause overrun.
- Wire breakage at reversal. Replace guide wheels, bearings and the conductive block regularly to avoid pinching; tension the molybdenum wire evenly; check the high-frequency board; shorten the reversal travel by pulling the wire clear at both ends and resetting the stroke.
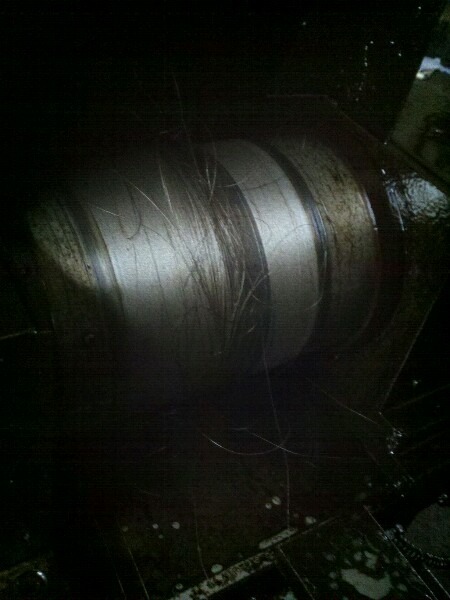
3. Stall at the reversal position. When the machine stops at the reversal point (spool and fluid both stop), check:
- Conductive block: poor contact triggers breakage protection; if the groove is too deep, rotate to a fresh face or replace; after moving the block holder, the wire should rest on the block with a slight curve; after long idle, a dry wire-to-block contact can trigger breakage protection.
- Reversal limit switch: press the outermost trip block deeper; file a few tenths of a millimetre off the limit vane at an angle and refit; if still failing, replace the switch.
4. Feed motor does not reverse. Check in order: test both limit switches, or bring an iron block or screwdriver near the proximity switch and watch the red light, then check for a reversal signal either way; check the brake capacitor or circuit; check the reversal board for damage and signal input; for contactor-based reversal, check the contactor and its normally-closed auxiliary contacts. If the motor runs one way, the motor, dropping resistor and wiring are fine; on computer-controlled machines, check whether a reversal signal is issued, then follow the actuator circuit.
Reference case: a machine with a normal reversal relay, a dead proximity switch light and intact wiring had a blown fuse on the reversal board — no power, so no signal reached the inverter. The board fuse is an easily missed fault point.
5. Safety notes. First observe whether KA1, KA3 and KA4 act correctly, with firm contactor action and unburned contacts. Never touch the reversal board or contactors while powered; disassembly requires a full power-off. When reversal is out of control, only travel protection remains — test its protective power-cut function regularly to prevent crashing.
In short: check power, limit switches, relays and thyristors level by level, and watch for easily missed points such as the board fuse and plugs. Combined mechanical and electrical checks resolve most faults.
Need more information? — we reply within 24 hours. Contact our sales team