
Wire breakage is the most common failure in wire EDM, and every break costs time — re-threading, re-cutting, sometimes a ruined workpiece. Breakage almost never has one cause; wire quality, the wire feeding system, workpiece geometry, dielectric condition, and electrical parameters usually act together. Check them in that order, from the most physical to the subtlest.
1. The wire itself
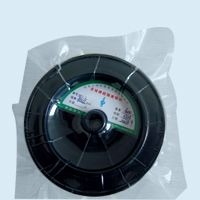
Most HS-WEDM machines use cold-drawn molybdenum wire, 0.12–0.2 mm in diameter.
- Buy genuine wire. Inferior wire sells at low prices; check that the spool delivers its stated length, since short lengths often signal poor quality.
- Check for oxidation. Oxidized wire turns brittle and snaps easily under discharge. Fresh wire is dark, bright, and metallic; oxidized wire looks dull and gray. Bend a sample at the same point repeatedly — the more folds before breaking, the better.
- Store it sealed. Vacuum-sealed packaging prevents oxidation in long storage.
2. The wire feeding system and guide mechanism
- Tension. About 12–15 N reduces wire vibration, improves accuracy and speed, and markedly reduces breakage.
- Wire speed. Higher speed helps dielectric reach the gap on thick work, but too much adds vibration and breaks the wire; below 10 m/s is the usual range.
- Wire spool. An out-of-round spool causes overlapping wraps at reversal; worn shafts and bearings add clearance that vibrates the wire. Keep run-out within limits and check the traverse moves at least 0.2 mm per spool revolution.
- Guide wheels and conductive blocks. Grooves worn into either, or worn guide wheel bearings, shake and snap the wire. Replace guide wheels after roughly three months of full-load running and spool bearings every 1.5–2 years.
- Reversal. If high-frequency power is not cut during reversal, the wire burns through from brief overheating — check the reversal limit switch and relay. Magnetic switches are more reliable than mechanical contact types.
- Threading and tensioning. Too much tension at wire loading breaks the wire on the spot; too little leaves it slack. The wire also loosens during cutting — re-tension roughly every four hours.
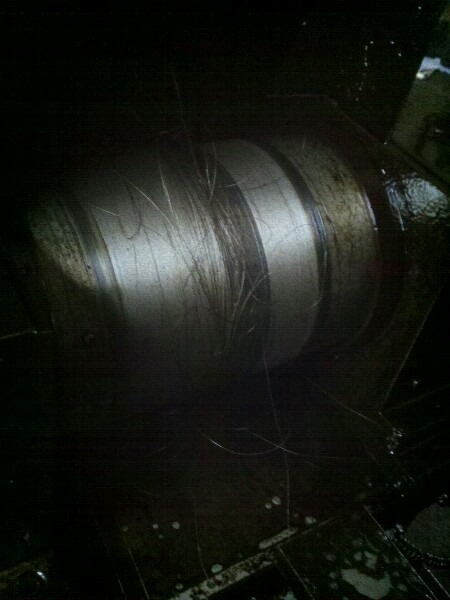
3. Thick workpieces (over 100 mm)
Breakage risk climbs sharply above 100 mm, and behaves differently at each stage:
- At start. The wire spans a long unsupported distance between guide wheels; vibration destabilizes the gap and can form a concentrated arc that snaps the wire.
- In the middle. The kerf is narrow and dielectric penetration weak; eroded particles flush out poorly and cause secondary discharge, widening the kerf until an arc forms.
- At the end. The part deforms under its own weight or internal stress and pinches the wire. Support it with a simple fixture or heat-treat the material first.
4. The dielectric fluid
A degraded fluid is the hidden cause of many breakages. As the fluid darkens, its dielectric and flushing performance drop — watch color and smell and change it when abnormal. Self-check: cut for about an hour with fresh wire and inspect the wire color. Gray-white is normal; black bands or locally thinned spots mean the fluid is finished. Cutting aluminum needs strong flushing, and water-based dielectric outperforms oil-based — use a lean mix and change it as soon as it looks dirty.
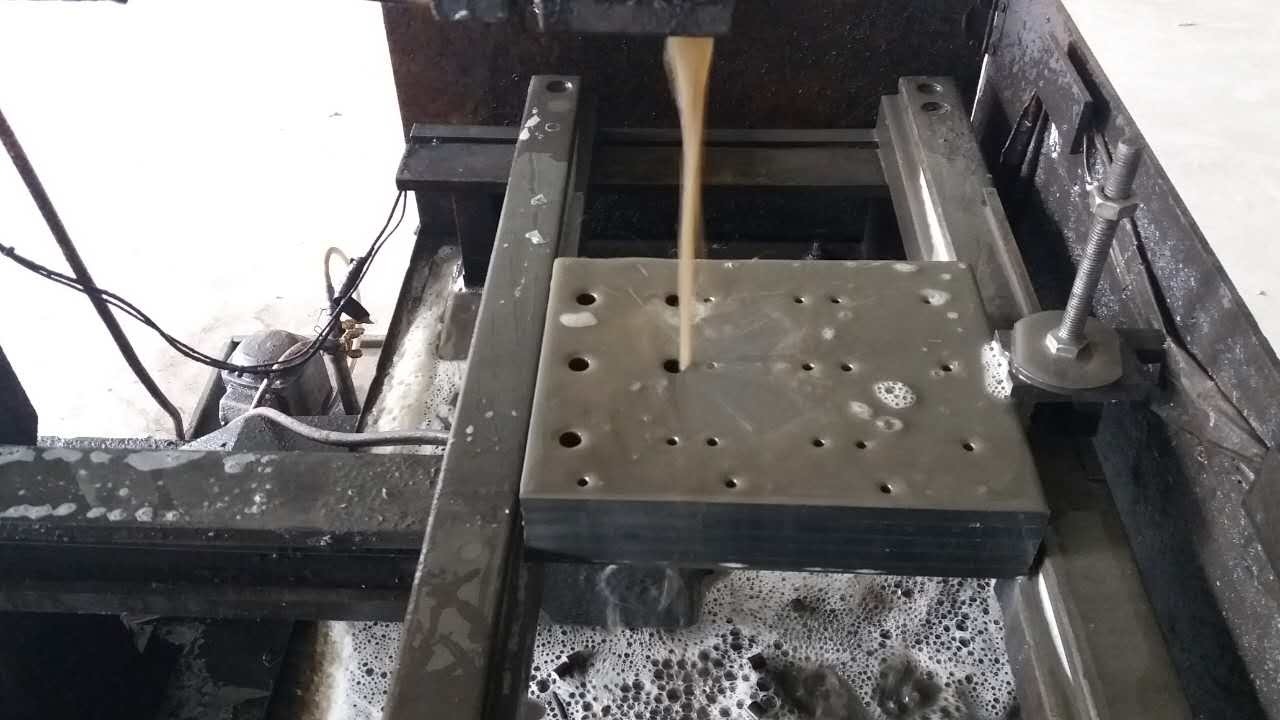
5. Electrical parameters
Wrong parameters burn and snap wire more often than anything else on the machine.
- Peak current. Set too high, single-pulse energy concentrates the discharge and pulls an arc; keep the open-circuit (no-load) voltage near 100 V.
- Pulse width and interval. On thick work, an overly long pulse width burns the wire; a pulse interval too short leaves particles in the gap and weakens de-ionization. Widen the interval to help flushing.
- Discharge gap. Too small a gap short-circuits and blocks cooling and flushing; too large one hurts finish and speed. On thick work, use a wide pulse and enlarge the gap (generally above 0.02 mm).
- Feed and table motion. The table is driven by leadscrews with spring-eliminated backlash. Poor lubrication or a weak spring makes the feed uneven, causing frequent short circuits that end in breakage. Set the feed roughly equal to the erosion rate — too fast, and frequent shorting ages the wire; too slow, and the unstable gap draws arcs.
Troubleshooting sequence. Work through the five dimensions in order — wire first, then mechanism, workpiece, fluid, finally parameters. Most breakage is found in the first two stages. Genuine wire, a compatible dielectric, and disciplined daily maintenance keep breakage rates down and production predictable.
Need more information? — we reply within 24 hours. Contact our sales team