
Wire EDM surface finish (surface roughness) is made up of two elements. First, the size of the crater left by each discharge: Rz typically 0.05–1.5 µm, a minor factor. Second, the ridged stripes produced at wire reversal: Rz typically 1–50 µm and over 0.1 mm in bad cases, usually paired with black-and-white stripes and a strong visual impact. The reversal stripes dominate finish, so controlling them is the key to better surfaces.
1. Where Black-and-White Stripes Come From
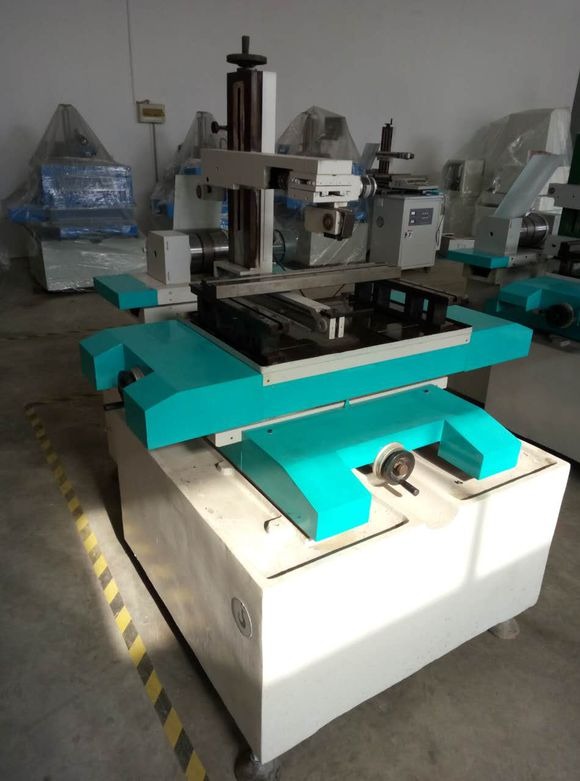
Steel cut surfaces often show alternating black and white stripes that track the wire direction: the wire entry side is black and the exit side is white, due to different flushing and cooling conditions. As the wire moves downward, the upper zone has plenty of fluid and good cooling but poor debris removal, so carbon black from discharge condenses and clings, showing black. The lower zone has less fluid and more gas; discharge happens partly in gas, produces less carbon, and shows white.
Black-and-white stripes cannot be avoided, but their depth can be limited. In bad cases the high-low difference is tens of microns; when well controlled, only a few microns.
2. Nine Improvement Steps
- Reduce pulse width and peak current. This shrinks the single-discharge crater. But too little pulse energy cannot cut thick workpieces, so balance is needed.
- Keep guide wheel bearings precise. Accurate, smooth-running guide wheels and bearings reduce wire vibration and hop, keeping wire path variation to a minimum.
- Maintain proper tension. The wire should be neither too tight nor too loose; set the guide wheels and conductive blocks so working-zone tension stays consistent on the upward and downward runs.
- Clamp thin workpieces between plates. Add a clamp plate on each side of very thin workpieces so reversal stripes are cushioned within the clamp zone.
- Keep XY motion stable. Axes should move accurately with faithful servo following and no stick-slip.
- Keep variable-frequency tracking stable and slightly loose. Avoid over-tracking, which sets the wire vibrating.
- Use multi-pass cutting. Leave a small allowance and sweep the cut face again with a very light cut. Two or three sweeps largely remove reversal stripes; with good machine repeatability, finish improves by one to two orders of magnitude, approaching low-speed wire EDM results in little extra time. This is a strong point of high- and medium-speed machines.
- Use short wire for thick workpieces. A reversal feed of less than half the wire diameter masks the reversal stripes (hides rather than removes them).
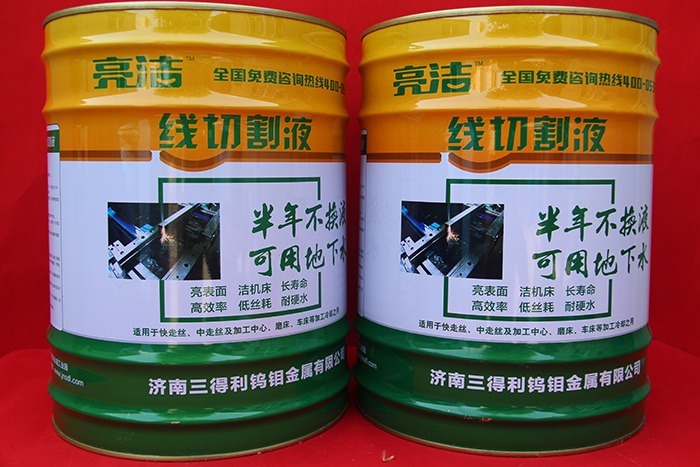
- Watch the dielectric. Fresh fluid helps efficiency, but fresh water is not best for finish. Hard water (groundwater) must not be used; it worsens the stripes.
3. Checking One-Sided Poor Finish on the Y Axis
High-speed wire EDM machines often show poor finish on one side of the Y axis. Check in this order:
- Guide wheel. Statistics show most cases originate here: replace the front guide wheel first and test-cut.
- Conductive block. Check for wear grooves, wire binding or poor contact.
- Molybdenum wire. Check whether it is too loose or too tight; re-tension or replace.
- Flushing nozzle. Check for blockage or a misdirected jet, which cause one-sided finish problems.
- Dielectric. Try adjusting concentration or replacing the fluid (different brands and materials give different results).
4. Limiting Black-and-White Stripes
- Keep the spool running in balance.
- Ensure guide wheels have no axial play or radial run-out.
- Apply over-tracking control to damp wire vibration.
- Use a spiral nozzle so the fluid sprays uniformly along the wire axis.
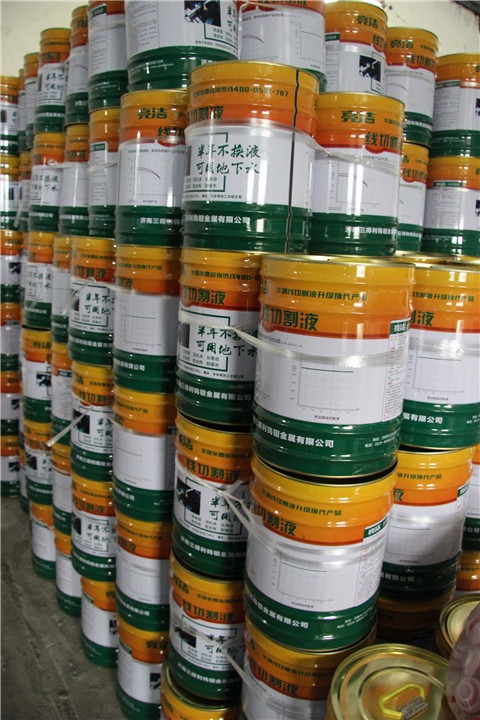
- Choose a water-based dielectric with strong washing action.
Summary. Improving surface finish is a system-level job: electrical parameters, mechanical accuracy, tension and dielectric all matter. Adjusting the steps above, combined with multi-pass cutting, noticeably raises wire EDM surface quality.
Need more information? — we reply within 24 hours. Contact our sales team