
Clamping is the foundation of wire EDM machining quality. The clamped workpiece must keep the cutting zone within the X/Y travel of the worktable, with enough clearance for the wire path. Fixtures should be standard, versatile components wherever possible.
1. Fixture Selection
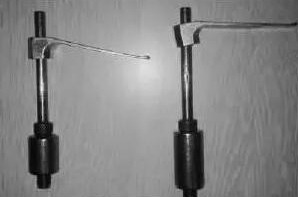
Common types include universal combination fixtures, dedicated milling–EDM fixtures, multi-station fixtures, pneumatic/hydraulic fixtures, and vacuum fixtures. The shims, screws and pressure plates supplied with the machine cover most jobs; strong magnets can also hold the workpiece. A poorly chosen fixture can scrap the part.
2. Four Clamping Methods
1. Cantilever clamping — easy and versatile, but the overhanging end can cause perpendicularity error between the cut face and the workpiece faces. Use only for low-accuracy jobs or short overhangs.
2. Two-end support clamping — stable, easy, and highly accurate positioning, but not suited to large parts.
3. Bridge-type clamping — a bridge plate with shims supports the workpiece on a standard fixture. The most widely used, suitable for all sizes.
4. Plate-type clamping — a support plate with through holes matches common shapes and sizes. High accuracy but poor versatility.
3. Alignment Methods
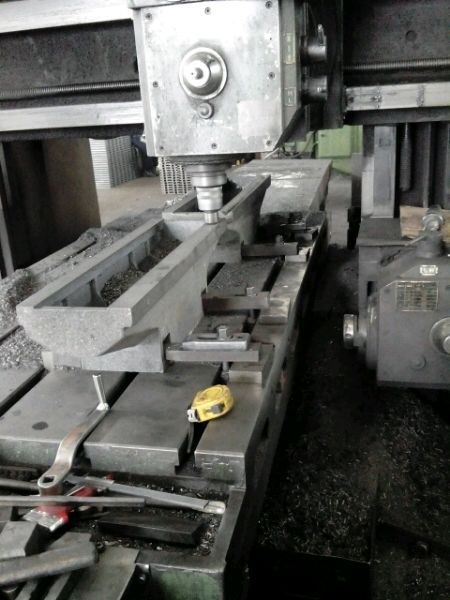
Alignment keeps the workpiece locating face parallel to the table surface and to the X and Y feed directions:
1. Dial indicator alignment Mount the indicator on the wire guide frame with a magnetic stand, touch the tip to the workpiece reference face, and move the table back and forth. Adjust the workpiece by the reading until the needle deviation meets requirements, aligning in three mutually perpendicular directions.
2. Scribing alignment For jobs without critical positional accuracy, align a scriber fixed to the wire guide frame with the scribed datum on the workpiece, move the table back and forth, and adjust by eye.
4. Clamping Large Heavy Workpieces
Using an external gear about 850 mm in diameter, over 200 mm thick and over 600 kg as an example:
- Set up multiple clamping points; when the wire needs clearance, remove one point but make sure the rest bear the load — “hold half, cut the other half.”
- Support plates under heavy parts can be cut together with the part, but they must not be too thin.
- For a re-cut, use two existing holes in the gear as references and dial in with a ground mandrel.
- Segment the clamping: clamp at point C while cutting from A to B, clamp at E while cutting to D, and finish at A.
- Repositioning error depends on skill; a skilled operator typically holds it within 0.02–0.03 mm.
5. Spring Clamps and Plate Clamps
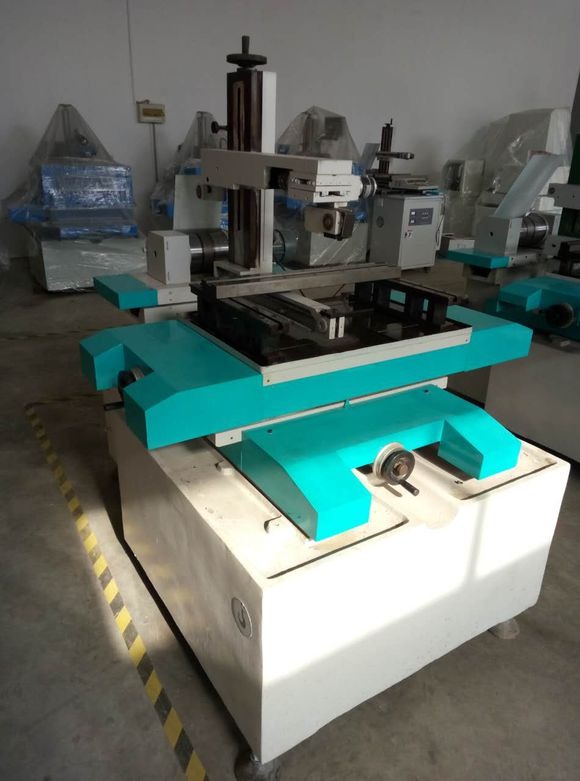
- Spring clamps: a light press clamps the workpiece without a wrench — ideal for quick clamping.
- Plate clamps: during cutting they hold both the scrap and the workpiece, preventing the finished part from tilting under its own weight and dielectric pressure when the cut completes. Any number can be used, as long as the wire path is not obstructed.
Summary: Match the clamping method to workpiece size and accuracy and combine it with correct alignment — the key to cutting accuracy. Large heavy workpieces need multi-point, segmented clamping, with spring clamps and plate clamps preventing end-of-cut shifting.
Need more information? — we reply within 24 hours. Contact our sales team