
Workpiece deformation during wire EDM cutting is a common problem that directly hurts machining accuracy and, in severe cases, produces scrap. Deformation is closely related to material stress, workpiece structure, heat treatment, clamping and cutting path. Preventing it starts with understanding its mechanism.
1. Causes of Deformation
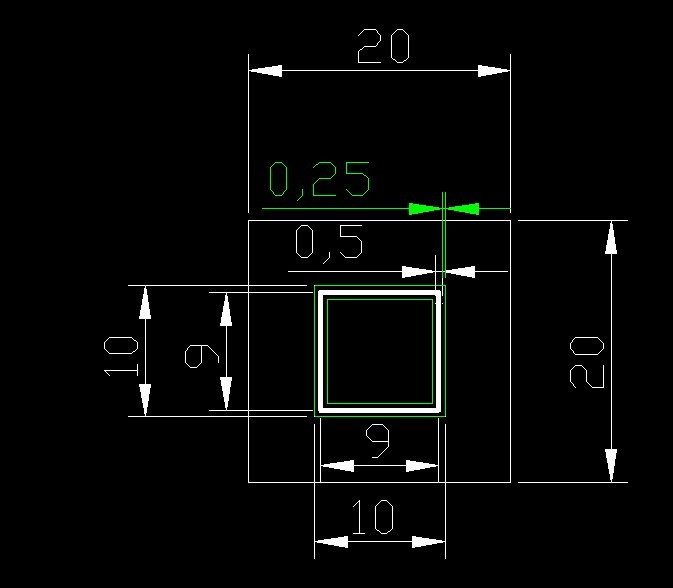
1. Material residual stress
Materials contain internal stress. Wire EDM cutting disturbs the original stress balance, and the material deforms to restore it. Stress grows with strength and hardness, so the harder the material, the more it deforms. Deformation within tolerance is negligible; beyond it, dimensions and shape are clearly affected. 2. Workpiece structure
Narrow and long punches and dies deform easily, depending on shape complexity and length-to-width ratio. Thin-walled workpieces are also prone to deformation.
3. Combined factors
Material, heat treatment, structural design and process planning problems, plus poor clamping and cutting path choices, all let internal stress deform the workpiece during cutting.
2. Seven Prevention Measures
1. Arrange a sensible process route
The steel route should be: cutting → forging → annealing → rough machining → quenching and tempering → grinding → wire EDM → bench finishing. Rough machining before quenching removes most allowance and scrap early, so after hardening the wire removes only a small stress-balancing portion. Improving the tempering process also reduces internal stress.
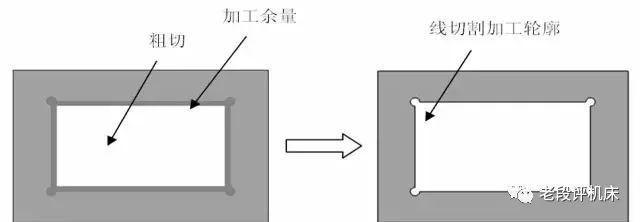
2. Rough cut or stress-relief cut before cutting
If the part was not rough machined before hardening, cutting large areas of hardened material severely disturbs stress balance. Rough out most of the allowance first, or run a stress-relief path. Large die cavities can use two main cuts: the first with an enlarged offset (0.1–0.2 mm per side) to release stress, the second with the standard offset.
3. Machine a threading hole
Cutting a punch starting from outside the material makes the opening gape or close under unbalanced stress. Machining a threading hole and cutting as a closed contour noticeably reduces deformation.
4. Optimize the cutting path
Place the starting point near the clamping end and put the segment that separates the workpiece from the clamp at the end of the path. A poor path leaves the final segments dependent on unreliable clamping.
5. Multiple cutting passes
Parts that still deform can be cut in multiple passes, which also improves surface roughness and reduces stress-induced deformation of mold parts.
6. Optimize multi-cavity die plate processing
For high-precision die plates, the first cut removes all cavity scrap, then automatic relocation trims each cavity in turn, giving each cavity time to release internal stress. The method suits machines with automatic threading.
7. Set multiple temporary bridges
Large complex workpieces should have two or more temporary bridges and several starting points, programmed as an open shape: cut the contour first and the bridge sections last.
3. Clamping Points for Different Materials
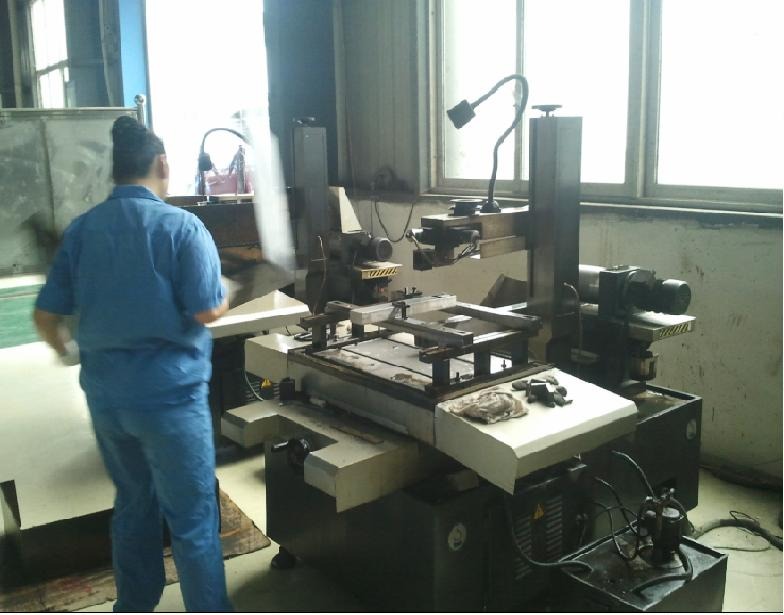
- Iron and steel: magnets can hold the workpiece and prevent deformation — for example, hold the already-cut side with a magnet once the cut is half done.
- Stainless steel: magnets cannot hold it; only fixtures work. With allowance, drill a hole and cut; without allowance, cut in two stages.
- High-precision cutting: calculate allowance and cutting deformation in advance and split the machining into two, three or more passes.
Summary: Deformation always degrades accuracy, and clamping method and cutting path are the most basic skills. Controlling the whole process from material preparation to process planning is the fundamental way to prevent deformation.
Need more information? — we reply within 24 hours. Contact our sales team